 |
| How To Add A Code Box With Copy Button |
HTML, CSS code Box with Copy Button - Hello, Blogger users! Are you looking for the best ways of using HTML CSS Code box with copy button in blogger post? This article will clarify the whole process of adding code box in blogger post with stylish copy button. We will start soon. Before starting the step by step process, we recommend you to know why using code box is important in your blogger article, how it effects your blog posts performance and so many things-
What is html CSS code box in blogger post?
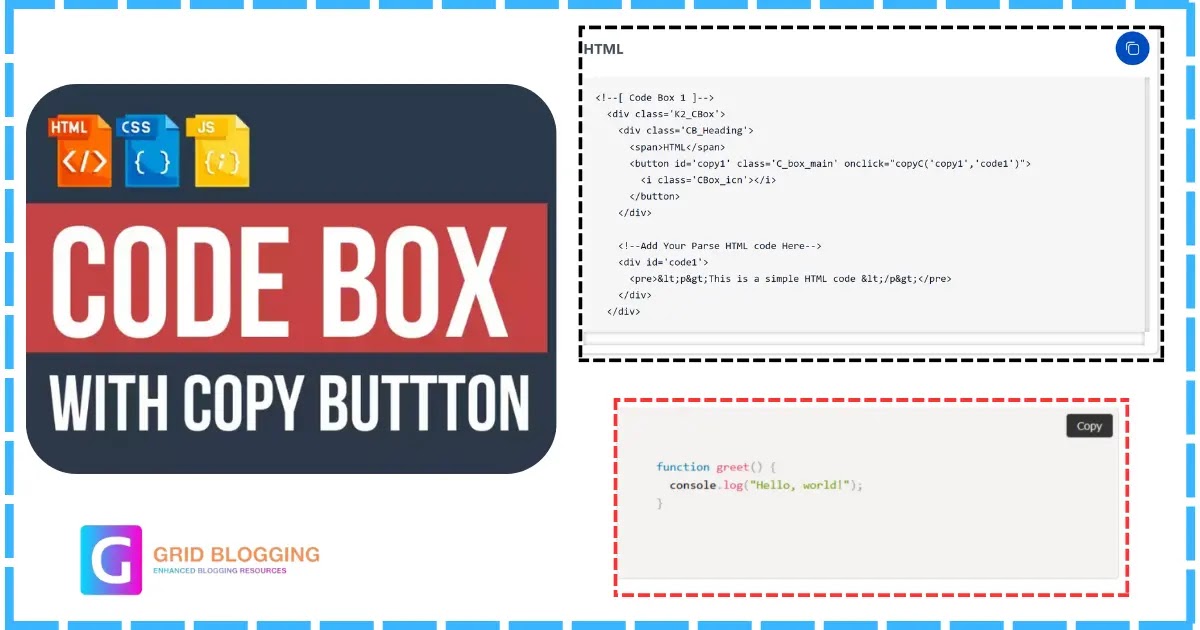
Hope you have idea about html CSS code box. You may have seen code boxes in different websites. This boxes contains different html CSS codes for blogger to customize their blog posts. See the below picture.
What is the important of using HTML CSS Code box in blogger post?
Adding CSS HTML code is necessary to well decorate your blogger post. When you share any customization related tips you have to share HTML CSS code to customize the blogger post. So, you need a system by which you can share these codes. So, html CSS Code boxes are important for fulfilling user intents and it makes your article easy to understandable.
How to add HTML, CSS code Box in Blogger Post with Copy Button
HTML
<p><!--[ Code Box 1 ]-->
<div class='K2_CBox'>
<div class='CB_Heading'>
<span>HTML</span>
<button id='copy1' class='C_box_main' onclick="copyC('copy1','code1')">
<i class='CBox_icn'></i>
</button>
</div>
<!--Add Your Parse HTML code Here-->
<div id='code1'>
<pre><p>This is a simple HTML code </p></pre>
</div>
</div> </p>
CSS and JavaScript
<p> <style>
  .K2_CBox{position:relative;background:#fff;width:100%;border-radius:6px;box-shadow: rgba(0, 0, 0, 0.15) 1.95px 1.95px 2.6px;padding:10px;margin:30px 0 30px}
  .K2_CBox .CB_Heading{display:flex;justify-content:space-between;align-items:center;margin-bottom:15px}
  .K2_CBox .CB_Heading span{margin:0;font-weight:700;font-family:inherit;font-size:1.1rem}
  .K2_CBox .C_box_main{cursor:pointer;display:inline-flex;align-items:center;padding:12px;outline:0;border:0;border-radius:50%;background:#004cbd;transition:all .3s ease;-webkit-transition:all .3s ease}.K2_CBox .C_box_main:hover{opacity:.8}.K2_CBox .C_box_main .CBox_icn{flex-shrink:0;display:inline-block;width:18px;height:18px;background-image:url("data:image/svg+xml,<svg xmlns='http://www.w3.org/2000/svg' fill='none' stroke='%23fefefe' stroke-linecap='round' stroke-linejoin='round' stroke-width='1.5' viewBox='0 0 24 24'><rect x='5.54615' y='5.54615' width='16.45385' height='16.45385' rx='4'/><path d='M171.33311,181.3216v-8.45385a4,4,0,0,1,4-4H183.787' transform='translate(-169.33311 -166.86775)'/></svg>");background-size:cover;background-repeat:no-repeat;background-position:center}
  .K2_CBox .C_box_main.copied{background:#2dcda7}
  .K2_CBox .C_box_main.copied .CBox_icn{background-image:url("data:image/svg+xml,<svg xmlns='http://www.w3.org/2000/svg' fill='none' stroke='%23fefefe' stroke-linecap='round' stroke-linejoin='round' stroke-width='1.5' viewBox='0 0 24 24'><path d='M22 11.07V12a10 10 0 1 1-5.93-9.14'/><polyline points='23 3 12 14 9 11'/></svg>")}
  .K2_CBox pre{margin:0;background:#f6f6f6;padding:15px;border-radius:5px;color:#08102b;font-size:.8rem;font-family:monospace;overflow:scroll;scroll-behavior:smooth;scroll-snap-type:x mandatory;-ms-overflow-style:none;-webkit-overflow-scrolling:touch; white-space: pre-wrap;}
  .K2_CBox pre::before, .K2_CBox pre::after{content:''}
  .dark-Mode .K2_CBox{background:#2d2d30}.dark-Mode .K2_CBox pre{background:#252526;color:#fffdfc}
  .tNtf span{position:fixed;left:24px;bottom:-70px;display:inline-flex;align-items:center;text-align:center;justify-content:center;margin-bottom:20px;z-index:99981;background:#323232;color:rgba(255,255,255,.8);font-size:14px;font-family:inherit;border-radius:3px;padding:13px 24px; box-shadow:0 5px 35px rgba(149,157,165,.3);opacity:0;transition:all .1s ease;animation:slideinwards 2s ease forwards;-webkit-animation:slideinwards 2s ease forwards}
  @media screen and (max-width:500px){.tNtf span{margin-bottom:20px;left:20px;right:20px;font-size:13px}}
  @keyframes slideinwards{0%{opacity:0}20%{opacity:1;bottom:0}50%{opacity:1;bottom:0}80%{opacity:1;bottom:0}100%{opacity:0;bottom:-70px;visibility:hidden}}
  @-webkit-keyframes slideinwards{0%{opacity:0}20%{opacity:1;bottom:0}50%{opacity:1;bottom:0}80%{opacity:1;bottom:0}100%{opacity:0;bottom:-70px;visibility:hidden}}
  .darkMode .tNtf span{box-shadow:0 10px 40px rgba(0,0,0,.2)}
  </style>
<div id='toastNotif' class='tNtf'></div>
<script>/*<![CDATA[*/ function copyC(e,t){var o=document.getElementById(e),n=document.getElementById(t),e=getSelection(),t=document.createRange();e.removeAllRanges(),t.selectNodeContents(n),e.addRange(t),document.execCommand("copy"),e.removeAllRanges(),o.classList.add("copied"),document.getElementById("toastNotif").innerHTML="<span>Copied to Clipboard!</span>",setTimeout(()=>{o.classList.remove("copied")},3e3)} /*]]>*/</script> <p>
If you are using HTML or Javascript code then have to parse the code before adding it to the pre-tag, otherwise, the code box will not show it properly.
So, you can use a Free HTML parse tool to convert your codes and then paste them inside the pre-tag. ( <pre> Your_code_Here </pre> )
You can also further customize the code box by changing the background color, box shadow effects, etc. You can get a variety of Box shadow effects here.
If you have any trouble during this process, then I recommend you to read the article carefully. Otherwise, you can ask in the comment section.
